The 12 Best Exercises for Your Back

You use your back for two big things:
First, it keeps your torso upright (or moves it upright, as with the deadlift) or helps you sit or stand with good posture, for that matter.
Second, the upper and middle back connects to your arms and is used to pull on things.
Aesthetically, building a strong back will contribute to a v-tapered physique. For women who desire a strong feminine physique, this v-taper is the upper two-thirds of your x-shaped physique, with the bottom third being the hips.
Related: Build Resilience With These 5 Bodyweight Back Exercises
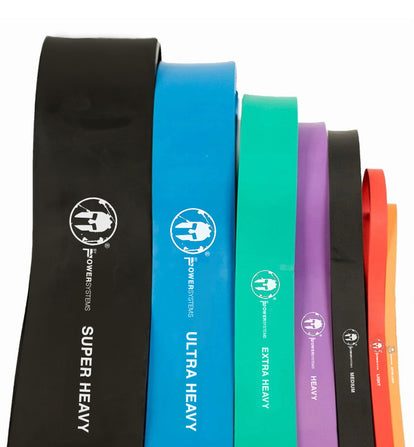
Now, we could recommend all sorts of machine exercises, but we all know that those aren’t ideal since they force your body into a given pattern of movement. Free weight-based, resistance band and bodyweight movements allow your body to move more naturally and force other muscles to help stabilize your body (not to mention that you can usually do them at home).
Note: For clarity, directions — that is, phrases such as above you, behind you, in front of you, and so on — are given relative to your body, not the earth. For instance, if you’re laying on your back, “dumbbell in front of your head” would mean that the dumbbell is where you can see it, and would fall onto your face if dropped. In that same position, “behind your head” would be where the ground is.
Exercises to Help Strengthen and Tone Your Back
1. Prone Swimmer
The prone swimmer exercise works the entire back. The muscles of the lower and middle back are used to arch the back, while the muscles of the upper back and shoulder blades are used to move the arms behind the back.
As such, the prone swimmer is ideal for anyone who has trouble standing up straight or reaching their arms behind their back.
Steps:
- Lay face down on the floor.
- Clasp your hands loosely behind the small of your back, palms outward. Keep your arms relaxed, with your elbows drooping down toward the floor.
- Lift your elbows up and then unclasp your hands.
- Slowly swing your arms out wide to the side, bringing them forward in a wide arc to touch palm to palm above your head.
- Slowly reverse the motion. This is where it looks like you’re swimming.
- Relax your elbows, resetting completely between reps.
2. Prone Banded Vertical Pull-Down
The biomechanics of the prone banded vertical pull-down are mostly similar to a regular pull-down, but with two exceptions. First, you’ll need to arch your upper back and neck slightly to look at what you’re doing and keep your arms slightly in front of your body. And second, because you’re using bands, the resistance will get stronger as you pull toward your body.
Steps:
- Wrap a resistance band around the leg of a squat rack, a pillar, or a heavy piece of furniture. It needs to be something that won’t be easily moved!
- Lay prone in front of the band, just far enough that it’s fully stretched when you reach out to grab the ends.
- Arch your upper back and neck slightly so that you can look at the band and what it’s wrapped around, and grab the ends.
-
Perform a pull-down, bringing the ends of the band down to the sides — and slightly in front of — your upper chest, pausing briefly at the bottom of each rep.
3. Bodyweight Deadlift
The bodyweight deadlift is identical to a deadlift, with the exception that, because you’re not holding anything, you’ll keep your hands behind your head. It works the same muscles as a weighted deadlift, but since the back extensors are slow twitch-dominant while the hamstrings are fast twitch-dominant, it works the lower back much more than the thighs.
Related: Do This Differently: Improve Your Deadlift With These Pro Tips
This exercise is ideal for people who want a low-intensity, lower-back workout, can’t deadlift safely, or want a minimally-fatiguing way to practice proper deadlift form.
Steps:
- Stand with your hands behind your head, one over the other, palms facing your head, elbows out to the sides. Your feet should be four to six inches apart.
- Push your hips back and bend forward at the waist, while bending your knees only slightly.
- Pause at the bottom of each rep before slowly returning to the starting position.
- Watch your knees throughout this exercise — don’t let them come forward.
4. Kettlebell Deadlift
Another deadlift variant, the kettlebell deadlift has similar biomechanics to the barbell deadlift. However, it requires your hands to be closer together and slightly angled.
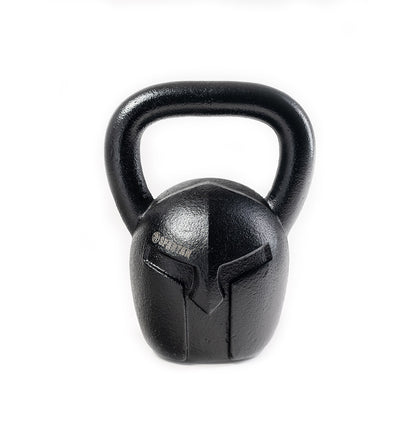
Also, whereas a barbell would go in front of your legs, a kettlebell can go slightly between them. (However, this creates a temptation to round your back excessively.) In fact, that’s one of the main benefits. The tendency to round your back will be exaggerated — forcing you to notice and correct it — while the lighter weight of a kettlebell makes this safer than it would be with a barbell.
Steps:
- Stand with your feet hip width apart. Place the kettlebell between your feet, on or slightly in front of an imaginary line connecting the middle of your feet,
- Push your hips back, bending at the weight and bending the knees only slightly. Grab the kettlebell.
- Reverse step 2, straightening your back and knees until you’re standing upright. Avoid locking your knees or leaning backwards.
- Repeat step 2, putting the kettlebell back down without letting go of it.
-
For reps beyond the first, keep repeating steps 3 and 4. Watch your lower legs — they should remain vertical.
5. Pull-Up
The pull-up is one of the best exercises you can do for your upper back, biceps, forearms and shoulders. It’s also a convenient exercise, since you can do it at home, provided you have a pull-up bar and a sturdy door frame.
Steps:
- Set up your pull-up bar in a door frame, or get to a gym pull-up bar. If you can’t do at least three pull-ups, use an assist machine, or hang a Spartan Strength Band from the bar and step your foot into it to effectively reduce your weight.
- Grab the bar at shoulder width, palms facing away from you.
- Pull yourself up until your chin is over the bar, pausing for one to two seconds at the top.
-
Lower yourself in a slow, controlled fashion — don’t just let yourself drop. Pause for one to two seconds at the bottom in a dead hang before the next rep.
6. Split-Stance Banded Row
Rows are an excellent exercise for your mid back and biceps, and resistance bands allow you to do them anywhere. The split-stance banded row — one foot in front of the other — provides stability from front to back, preventing you from being pulled off balance.
Split-stance banded rows can be performed unilaterally or bilaterally, but the following directions are for the unilateral variant.
Steps (for right side):
- Tie a Spartan Strength Band to something that can take being pulled on, such as an exercise machine, pillar, or very sturdy doorknob. It should be at mid-back height.
- Stand with your left foot forward — knee bent and toe pointed forward — and your right foot extended back and straight. Your right toe can be angled slightly to the right, or kept forward with your heel up off of the ground slightly. Hold the band in your right hand.
-
Slowly pull the band horizontally back until your right hand is against your lower right ribs and your right elbow is behind yourself.
7. Seated Banded Low Row
The seated banded low row differs from a typical seated mid row in two important ways. First, you won’t be leaning back or have your chest supported, so you need to use your back extensors and abs to keep your spine straight. And second, the angle is slightly upward — maybe 25% of the way toward an upright row — which brings the traps slightly into play.
Steps:
- Tie a resistance band around something solid at ground height, and sit on a chair or stool on front of it.
- Grab the ends of the band with both hands.
- Slowly bring your hands up and in to your lower ribs, keeping your spine straight and upright the whole time.
- Slowly return your hands to the starting position, continuing to maintain a straight spine.
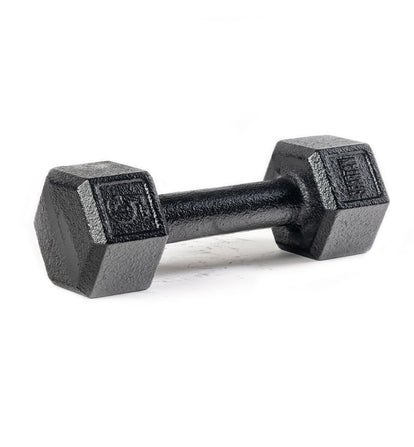
8. Dumbbell Bent-Over Row
The dumbbell bent-over row is sort of a cross between a mid row and a Romanian deadlift. Your arms and middle back move the same way that they would in a mid row. However, by staying bent at the waist, you’re effectively performing a paused low-weight deadlift the entire time as well, so it works the lower and middle back as well as the biceps and gripping muscles of the forearms.
Steps:
- Hold a pair of identical dumbbells and stand with your feet at hip width.
- Push your hips back and bend your knees slightly, as in a deadlift. Hold the bottom position of the deadlift movement.
- Pull your arms up, bringing the dumbbells to your lower ribs and your elbows behind your body.
-
Lower the dumbbells back down in a slow, controlled manner until your arms are straight. Keep your wrists under your elbows the whole time.
9. Standing Dumbbell Bent-Over Reverse Fly
Like the last exercise, this is a variant of an exercise that’s typically performed in a seated position, but performed in a deadlift position. The standing dumbbell reverse fly primarily uses the rear deltoid (the back of the shoulders), but secondarily works the triceps while the bent-over position will once again work the lower back.
Steps:
- Hold a pair of identical dumbbells and stand with your feet at hip width.
- Push your hips back and bend your knees slightly, as in a deadlift. Hold the bottom position of the deadlift movement, with palms facing each other and the two dumbbells touching.
- Pinching your shoulder blades together, extend your arms out to your sides, keeping your elbows just slightly bent and bringing them back until the dumbbells are level with your upper back.
-
Slowly reverse step 3 in a controlled manner, keeping the elbows slightly bent.
10. Standing Banded Reverse Fly
The standing banded reverse fly is another reverse fly variant that will work the shoulder blades, rear deltoids, and — secondarily — the triceps. However, this time you’re not bent over, and substituting resistance bands for dumbbells will provide a different resistance curve.
Steps:
- Wrap a resistance band around a shoulder-height vertical object such as a pillar or an exercise rack. Grab each end of the band.
- Pinching your shoulder blades together, extend your arms out to your sides while keeping your elbows just slightly bent and bringing them back until your hands are level with your upper back.
-
Slowly reverse step 2 in a controlled manner, keeping the elbows slightly bent.
11. Single-Arm Dumbbell Plank Row
The dumbbell plank row is a single-arm row with a twist: You’ll be in an angled single-arm plank position, holding yourself up with the other arm while you do it. It works your mid back, biceps, and forearms (like a row), your abs, and — secondarily — your legs and supporting arm (like a plank). The asymmetry threatens to rotate your torso, bringing the oblique abdominals into play more than with most plank variants to stabilize the torso.
Steps (for left side):
- Place your right hand on a bench, couch, or bar, keeping it straight. Straighten out your torso with your feet on the ground, getting your body into an angled (30–45º) plank position supported by your straightened right arm.
- Pick up the dumbbell in your left hand.
- Pull the dumbbell up to your left lower ribs, as in a row. Keep your torso immobile and avoid allowing it to rotate to either side.
-
Slowly lower the dumbbell, continuing to keep your torso straight.
12. Dumbbell Lat Pullover
The dumbbell pullover is one of the best exercises for your lats, secondarily working the triceps, chest, and core muscles as well. A dumbbell pullover keeps your hands closer together than a barbell pullover, working the muscles at less commonly-seen angles to make sure every fiber and every head of the muscle gets worked.
Steps:
- Sit on a bench. You can sit along the bench, or lay perpendicular with your shoulders on the bench and hips unsupported for a little added leg and lower back stimulus, but you need to have no extra room on the bench above your head.
- Pick up a dumbbell goblet-style in both hands, holding it upright with both hands under the upper end. Bring the elbows inward for a better lat exercise, or let them move outward to target the chest more.
- Begin with the dumbbell held in front of your face, then bend the elbows and pull them back to bring the dumbbell above your head. Avoid going further and bring the dumbbell behind your body.
- Slowly reverse step 3 until the dumbbell is in front of your face again.

